| Salida: | 19 May 2015 |
|---|---|
| Resolución: | 16Mp |
| Tecnología: | 4/3 CMOS |
| ISO: | 160-25600 |
| Peso: | 410g |
| Dimensiones: | 125 x 86 x 77 mm |
| Visor: | Electronic |
| Tipo pantalla: | 3" Fully articulated |
| Resolución video: | 3840 x 2160 |

45

42

46

62

64
Este post contiene enlaces de afiliados y seré compensado si usted hace una compra después de hacer clic a través de mis enlaces. Como Asociado de Amazon gano de las compras que califiquen.
 pros
pros contras
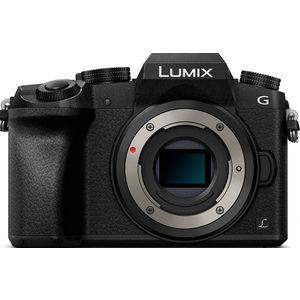
| reseña | comparar Panasonic Lumix DMC-G7 con | puntuación total |  Retrato |
 Paisaje |
 Deporte |
 Calle |
 Cotidiano |
|
| |
Panasonic Lumix DMC-G7 |
54 | 45 | 42 | 46 | 62 | 64 | comprar en |
|---|---|---|---|---|---|---|---|---|
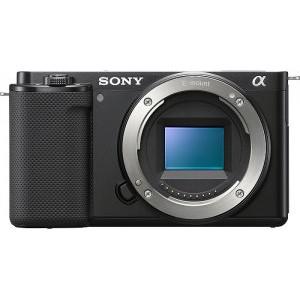 |
Sony ZV-E10 |
64 | 51 | 49 | 63 | 73 | 73 | comprar en |
Before reassembling, connect the charging cable to see if it draws power.
If you need further help with this device, please let me know:
Follow these steps to fix the network on a rooted SM-G610S U2: 1. Preparation all important data. Root the device using Magisk or a custom recovery. Ensure USB Drivers are installed on your PC. 2. Patching Process (Using Z3X) Open Z3X Samsung Tool Pro . Select the model SM-G610S . Connect the phone in ADB Mode (USB Debugging Enabled). Perform the IMEI Repair if needed. Press the Patch Certificate button. 3. Flashing Auto Patch File (If Patch Certificate Fails)
If you are unsure, it is highly recommended to seek professional assistance, as working with low-level modem files can result in a permanent loss of network connectivity if done incorrectly. If you're interested, I can also: Provide a link to download the Help you with the step-by-step procedure to flash with Odin Explain how to convert the G610S to the G610F firmware Samsung G610S U2 Root imei Repair Patch
(It is critical to match the binary level of your current firmware to avoid bricking the device). Android Version
: The downloaded patch file is corrupted or incomplete.
Implies the use of a modified file (often an engineering modem file or a patched stock firmware) designed to be flashed via software tools like Z3X Samsung Tool Pro to correct network certificates. Why Do You Need the G610s U2 Auto Patch?
Enter Developer Options and toggle to the ON position.
Click on the button in Odin and select the G610S-U2-AutoPatch.tar file.
This modification cannot be done natively through normal computer software or Windows commands. Technicians must compile a specific suite of developer software:
Power on your device and navigate to . Verify your baseband or build number contains G610SXXU2 or G610SKSU2 . This ensures your hardware is on binary version 2. Step 2: Enable Developer Options
This public link is valid for 7 days and shares a thread, including any personal information you added. This link or copies made by others cannot be deleted. If you share with third parties, their policies apply. Can’t copy the link right now. Try again later.
Copyright 2026
EMA s.r.l.s. | p.i. 11740890014
All rights reserved
Powered by ![]()